

Setup wizard
The five steps
Open Step-by-step setup. Connect Telfa, choose numbers, pair users, set incoming calls, then run the test. Connect number adds our webhook address and keeps the addresses already on that number.
The screen is «Step-by-step setup». The steps stay in order:
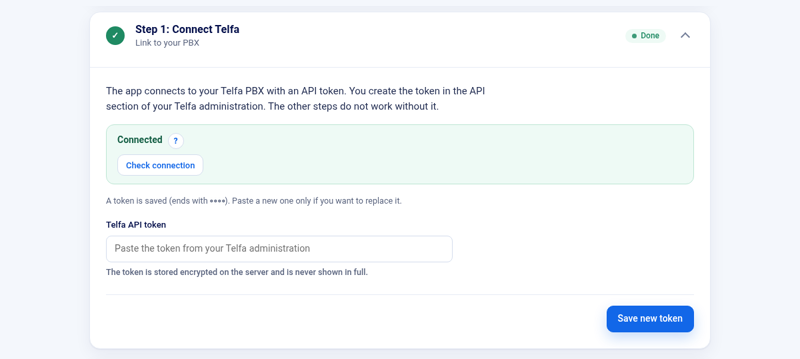
- «Connect Telfa» — paste the token and use «Check connection». Details are in Connection key.
- «Choose numbers» — pick the Telfa numbers that should ring in this portal. «Connect number» creates the Bitrix24 line "Telfa" plus the number, and asks you to confirm «Enable Telfa webhooks for this number». Existing webhook addresses on that number stay. You can also choose «Add past calls»: «Don't add», or the last 7, 30, 90, 180 or 365 days. That choice is made once in the wizard.
- «Pair users» — match each Bitrix24 user with a Telfa user, then «Save pairing».
- «Incoming calls» — set «Who sees the call card in Bitrix24» and save. «Save group to Telfa» writes the group and the queue. The app does not rewrite the phone number’s own plan. The step that continues with the plan is added in Telfa. See Queues and groups.
- «Test» — place a test call and confirm the card. «Who will see the card?» shows who receives it. «Send test SMS» sends a short test SMS.
Behaviour in Bitrix24
The «Behaviour in Bitrix24» card is what the integration does in Bitrix24. The defaults suit most companies. Save changes with the button at the bottom.
- «Show the card for incoming calls» — an incoming call opens the card.
- «Show the card to whoever’s phone is ringing» — the person Telfa is ringing sees the card.
- «Show the card for outgoing calls» — the agent who calls from Bitrix24 sees the card.
- «Create unknown callers in the CRM» — an unknown number creates a CRM record.
- «Log missed calls in the CRM» — a missed call becomes an activity. Without this switch a missed call is not written to the CRM.
- «Missed-call safety net» — the app asks Telfa for missed calls in case a message got lost on the way.
- «Log SMS in the CRM» — sent and received SMS appear in the contact’s history. The SMS import needs this setting.
After the wizard
New calls are handled by Call sync and history. SMS is a separate card, SMS. Outgoing calls from CRM use the telephony line created for the number. Turn on «Save call recordings to the CRM» if Telfa records the call and you want that recording on the CRM activity.